Prime
Catalog
Cart
All Games:
The Finals Heavy

The Finals Guide: Heavy Class Pro Tips

The Heavy serves as the powerful frontline force, delivering significant damage output, destruction. And burst potential during pushes. In the endgame, the primary objective for the Heavy is to guide the team from point A to point B. It can be achieved through the use of various shields. Or by creating openings in walls to access critical objectives. Acting as the frontline tank, the Heavy plays a pivotal role in facilitating movement, holding ground. And also in dealing significant damage, contributing to strategic shifts in the battlefield. Leveraging the Heavy’s destructive abilities allows players to craft new pathways and tactically influence the course of the game. The Finals Heavy Class Guide will help you to dominate the battlefield.

The Finals Heavy Class Guide

Use Canisters

The canisters present across the final maps serve a purpose beyond aesthetics. They offer significant potential when incorporated into your strategy. Attach C4 to any object, then detonate it to break through barriers. This tactic is effective for room clearance and can create openings in fights, utilizing various objects for diverse effects. For instance, gas barrels clear rooms, fire barrels deliver rapid bursts of high damage. And propane tanks extend damage range. These techniques add an element of surprise to catch opponents off guard.

Strategic Synergy

The heavy collaborates effectively with lights by drawing the enemy team’s focus, creating a threat to seize territory and deal damage. Meanwhile, the light strategically flanks and capitalizes on this distraction, pinning down opponents. The medium class is the heavy’s preferred ally, offering essential movement gadgets like the zip line and jump pad. Additionally, the medium class can support the heavy by maintaining the substantial health bar through the use of the heal gun.

Communication

When playing as a heavy, having an organized team is crucial. Your team should know when to shoot behind your shield, execute quick rotations. And communicate effectively when breaking open walls or navigating buildings. Maintaining communication with your medium is essential for efficient map movement and utilizing well-coordinated zip lines. The detailed breakdown of synergy between classes highlights the critical role of communication and strategy in mastering the heavy class.

Weapons and gadgets

Currently, heavy build features the SA1216, or the auto shotgun, as the main weapon. The SA1216 is unstoppable in close encounters for heavy builds. It boasts a consistent rate of fire and delivers devastating damage, making it a top choice for defending cashouts.

The Finals RPG

For gadgets, RPG, C4, and Dome Shield and specialization is the Mass Shield. This build prioritizes maximum survivability, leveraging the Dome Shield. And Mass Shield to extend the health bar. The RPG stands out as the Heavy’s premier tool for movement, offering high burst potential. The shotgun complements aggressive playstyle, forcing opponents to trade health. Alternatives like the M60 or LMG are recommended. 

Prioritizing your arsenal

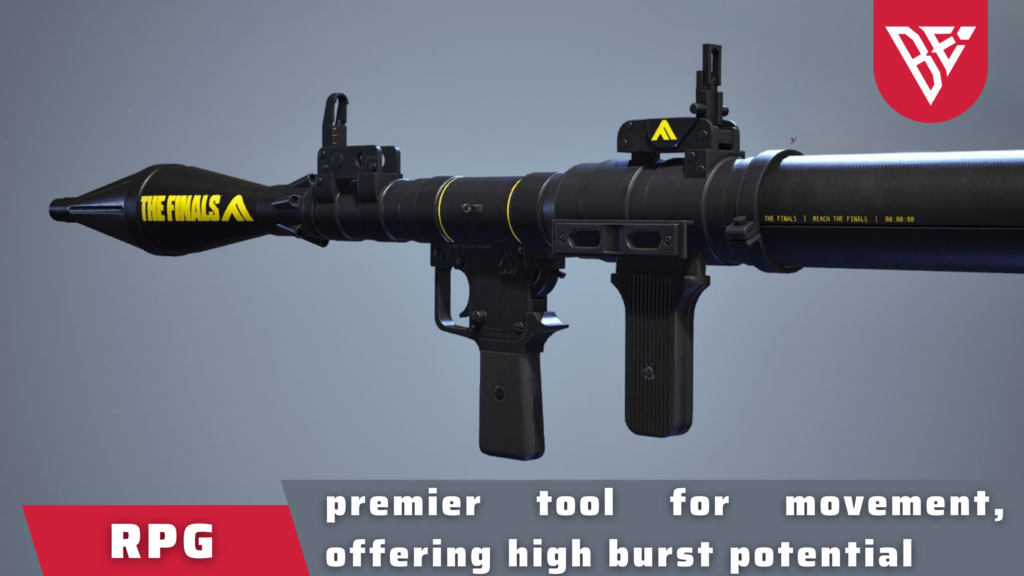
As a heavy, always keep a shield ready, whether it’s the Dome or Mass Shield, for safety, except for rare glitch grenade situations. To boost survivability, stay behind cover when preserving or recharging shields. Manage RPG use efficiently. Save it for crucial moments, like instantly taking down lights or making aggressive moves. Reckless RPG deployment weakens your offense, so use it wisely. Heavy shields block almost everything, except glitch grenades, including grenades, land mounts. And even deflecting other heavy domes. With a high ammo capacity, easily handle gadgets like C4, turrets, and landmines during intense fights without needing to reload.

Counter against sledgehammer and flamethrower

Utilizing the alt shotgun proves effective against flamethrowers and sledgehammers, allowing me to outdamage them in close encounters. However, when using LMGs, maintaining a distance is essential. If they’re in the same room, you either run or raise your shield, letting your teammate handle the flamethrower. When facing a close-range flamethrower heavy, quick decisions are crucial. Eliminate them rapidly to prevent a team wipe or take a more strategic approach by shielding teammates for a coordinated takedown. Similar tactics apply to sledgehammers, except it’s better to run than tanking with the shield. Unless you’re a confident aimer, ensuring you outdamage them.

Counter against sledgehammer and flamethrower

Using the auto shotgun, avoid playing in open sights. Instead, place C4 on the site and lurk in nearby buildings, ready to assist teammates if needed. This approach is aimed at preventing yourself from becoming just a bullet sponge, potentially leaving the team at a disadvantage in a 2v3 situation. Adopting an “assassin heavy” role may sound amusing, but catching opponents off guard is often the optimal play. In closed sights, place yourself in a room above or below the cash out, placing C4 on the roof or ceiling based on proximity to the cash out. Defending this room is less likely to attract attacks or projectile spam compared to the cash out room. When an opponent touches the cash out, I use the planted C4 to disrupt them, causing them to fall. And become an easy target for players.

Enhancing mobility

Bunnyhopping is an effective method for sustaining momentum, especially after swift movements, enabling you to pursue fleeing enemies more efficiently. Make strategic use of the finals environment to your benefit. 

Track your teammates

Monitoring your teammates’ health is just as crucial as managing your own. Deciding when to advance, deploy a mesh, or activate a Dome Shield can be the determining factor in winning or losing a fight, depending on the timing in relation to your teammates. Consider whether your teammates possess the necessary abilities to secure victory or if a more aggressive approach is viable. For instance, if your medium has recently used the defibrillator for a revive, opting for a risky push instead of taking a defensive stance can unnecessarily escalate the difficulty of the fight. Similarly, in a shield-versus-shield scenario, assess if your light has glitch grenades on cooldown before engaging.

Common mistakes

A common mistake is improper shield management. Shields should be utilized strategically, not indiscriminately. Too often, Heavy players deploy their shields in situations where they are unnecessary, leading to quick breakage and their demise. To fellow Heavy mains, the key advice is to exude confidence, claim the necessary space for your team, and unleash your destructive abilities with creativity.

In conclusion, mastering the Heavy class in The Finals demands a combination of strategic thinking, effective communication, and precise execution. From shield management to weapon selection, each decision shapes the outcome of engagements. The Heavy’s role as a frontline tank and damage dealer is pivotal. And understanding the synergies with other classes is paramount. By prioritizing team coordination, strategic shield deployment, and thoughtful ability management, players can elevate their Heavy gameplay. And contribute significantly to their team’s success in The Finals. Now armed with these pro tips from The Finals Heavy Class Guide dominate the battlefield!

Read Our The Finals Best Heavy Build Guide

All games mentioned on this website as well as all related terms, logos, and images are trademarks or registered trademarks of their respective publishers and owners. This site is in no way associated with or endorsed by any of the game publishers.


OR LOG IN WITH EMAIL

Login

Register

Your personal data will be used to simplify your work with the site, control access to your account and for other purposes described in our privacy policy.

Don’t have an account?
Register Now

Lost your password?