Tarkov | EFT Ground Zero Map Guide
Welcome to our Tarkov Ground Zero Map Guide, where we’ll navigate the treacherous terrain of one of Escape from Tarkov’s most intense battlegrounds. Ground Zero offers a wealth of opportunities for survival and success, but only for those who are well-prepared and knowledgeable about its intricacies. In this Tarkov Ground Zero Map Guide, we’ll delve deep into the heart of Ground Zero, exploring its various landmarks, strategic locations, and hidden treasures. Whether you’re a seasoned veteran looking to sharpen your skills or a newcomer seeking to familiarize yourself with this unforgiving landscape, you’ll find valuable insights and tactics to aid you on your journey.


Tarkov Ground Zero Map Guide
Today, we’re diving into Ground Zero, covering everything from extraction points to prime loot spots and key spawn areas. Whether you’re new to the game or a seasoned player, this map guide has got you covered. Let’s jump right in and explore all the essential details you need to know.
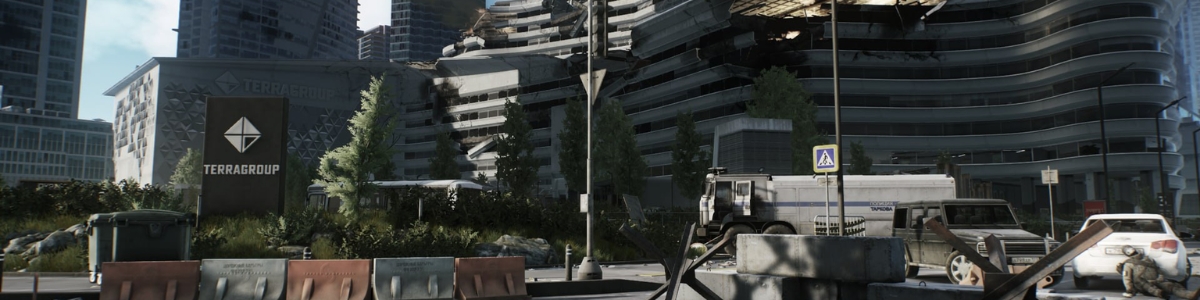
Ground Zero

Welcome to Ground Zero! The key thing to understand about this map is that there’s one central road that runs through the entire center. Everything branches off from this main road, whether it’s to the sides or at the ends. No complex network of streets here, just one main artery.
We’re currently at the Emercom extract end. Here, you’ll find the Emercom extract and the Scav checkpoint nearby. If you head down this way, you’ll reach the underground section, and at the other end, you’ll find the Nakatani basement stairs. On one side, there’s the car extract, and on the other, the Mirror extract, also known as the Flare extract.
Emercom Extract
On the Emercom extract side, new players will encounter a quest early on that directs them here, emphasizing the need to secure medical supplies. Look for a med box atop a structure and lootable areas nearby. The Emercom extract point is located here, offering a straightforward extraction spot. Moving along the map’s edge, you’ll find a building where wine is located for a later quest. Further down, you’ll encounter the Mirror extract, accessible every raid. Inside the building, expect to find various loot, including toolboxes and duffel bags. While loot quantity may have decreased slightly, valuable hideout items are still obtainable. Along the main road, you’ll find a scav with a crucial item needed for extraction.
Strategies
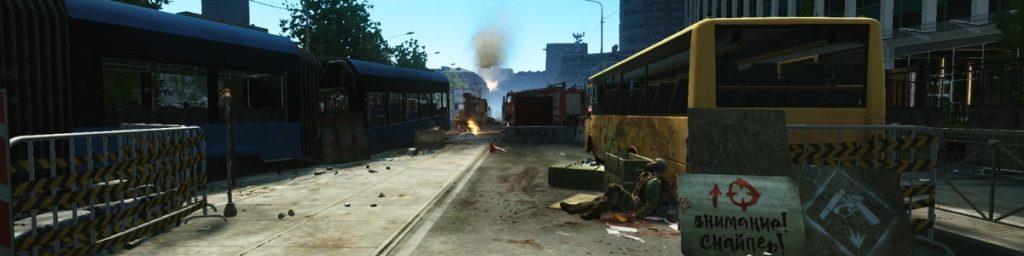
Every time you spawn in, regardless of location, this scav will always carry the flare. Take out the flare, head to the bottom right where it says “signal flare area,” aim up, shoot it, wait about 2 seconds, then run down this way. You have about 45 seconds to get out, making it a convenient extraction point. Now, let’s talk about the Mirror Avenue extract. It’s a great option that you can use because of the nearby valuable loot spots. When moving down this road or the underground section, you can loot the area, return, pop the flare, and leave. Be cautious of the landmines on one side of the map, marked by signs.
Exploring The Oasis Building
On the other side, you’ll find med bags, weapon crates, and useful loot spawns, making it crucial for early quests and gathering meds. There’s also a building called “The Oasis,” which has decent loot spawns.
Understanding PvP Hotspots
Alright, so let me give you some insight into this area. Upstairs, there’s not much to find, maybe just a duffel bag or two, but it offers a solid vantage point. PvP action tends to concentrate in two spots: this building on one side and another building with a 50 caliber on top. People often camp up there, as there are plenty of crates. You’d be surprised how many engagements occur along the road section or inside these buildings. It’s essentially the main PvP area. While being up here offers an advantage, don’t linger too long. The only ways down are the staircase or jumping. Jumping may risk breaking your legs, but you can aim for certain spots to minimize that risk.
Exploring the Loot-Rich Building
Inside this building, there’s a wealth of loot to uncover. You’ll come across toolboxes, duffel bags, and two ration supply crates. These crates are invaluable early on, especially for tasks like Jager’s. Additionally, you’ll find technical supply crates containing items like measuring tapes and spark plugs for hideout upgrades. Usually, this room is brimming with loot, but it seems a bit sparse due to offline mode. However, in online mode, you’ll find plenty of food and drink spread across the tables and counters. If you’re ever low on supplies, this is the place to replenish. There’s also a med crate available. Moving on, downstairs, you’ll find more toolboxes and technical spawns, along with food and drink. Upstairs, above the food area, is another section filled with loot and a potential vantage point for shooting across the hallway. Be cautious, though, as squads often camp here.
AGS

Exploring the Loot-Rich Building
As we continue along this side of the map, it’s easy to get carried away. Along the main road, we’ll pass buildings on the right with some notable features. Inside, you’ll find computers and spawns for food and drink, including hot rods, on the tables. There are also filing cabinets and additional computer loot, making it a decent early-game loot spot. Some players have even reported finding valuable items like graphics cards here, making it worth a thorough inspection. However, caution is advised when traversing this side of the map.
The Building with the AGS
One prominent feature of the building on the right is the automatic grenade launcher (AGS) located inside. While it can be entertaining to linger near it and wait for potential targets, the risk of exposure to the AGS outweighs the loot potential in this building. Despite occasional visits, there’s little of value to be found here apart from potential encounters with other players.
Quests and Strategic Positions
Occasionally, a quest may require you to venture up to the AGS room, which can be accessed via the staircase. This area offers opportunities for looting filing cabinets and computers. If utilizing the AGS, it’s recommended to prime it and position it strategically to catch unsuspecting players passing by. This can be particularly effective against squads crossing the road.
Tactical Considerations
While this building may attract some attention, especially for quest-related activities, its loot potential is limited compared to other areas. Focusing on quick looting runs or strategic positioning for PvP encounters may be more beneficial in the long run. Be mindful of potential threats and opportunities for ambushes, but prioritize efficiency and safety when navigating this section of the map.
Ground Floor

Navigating the Nakatani Extract Side
On this side of the map, one prominent feature to be mindful of is the Nakatani extract. Accessible by pressing ‘O’ twice, it leads to the Nakatani basement stairs. However, exercise caution as potential campers may lurk in the vicinity. Descend the staircase to reach the extract, located at the bottom. Nearby, you’ll find a toolbox for looting, marking the Nakatani Tower. This side comprises one half of the map, with the opposite side boasting fewer buildings but increased activity.
Avoiding AGS Danger and Backtracking
While retracing your steps along this side, the primary concern is the threat posed by the AGS. It’s safer to traverse the opposite side to avoid encountering this danger. Furthermore, there’s little reason to backtrack along this side of the road, as spawning typically occurs on the opposite end. Continuing forward, you’ll encounter a wooded area leading to the location of our first key. Exercise caution, especially when heeding the sign warning of a bomb. Unlocking the door with the key reveals filing cabinets inside.
Limited Worth of Exploration
Exploring the ground floor yields minimal results, with only a loose safe to be found. The primary action centers around the staircase, where a quest prompts ascent to access the 50-caliber weapon. While there’s ample loot available, including filing cabinets, technical supply crates, and computers, the exposed position atop the 50 caliber presents significant risk.
PvP Hotspot and Efficient Navigation
Around this area, PvP activity is most concentrated. Navigating the staircase can be expedited by vaulting a specific section to bypass wires and reach the top swiftly. However, exercise caution as other players may employ the same tactic. When ascending, remain vigilant for potential threats, as many players camp at the top, ready to ambush unsuspecting victims. Be prepared to engage if necessary.
Next Steps: Medical Building Exploration
Proceeding forward, our next destination is the medical building previously mentioned. Situated on the ground, it harbors a loose safe, marking the end of our current exploration journey.
Car Extract

Quests and Threats Near Car Extract
Near the car extract, completing a quest requires 5,000 rubles. Survive after taking the car to fulfill the task, but beware of potential attacks from above. The main entrance to the building is located here, necessary for another quest. However, venturing down the hallway poses risks due to potential camping. Consider approaching from the outside and wait for opportune moments to minimize threats.
Key Acquisition and Loot Opportunities
Towards the back of the building lies a body holding the Terragroup Science Office Key, vital for a quest. Loot, including toolboxes and duffel bags, is scattered in this area. Be sure to check dead scav bodies for additional loot. Inside, a medbox and other items await, but remain vigilant for lurking threats.
Navigating the Car Area and Key Room
Exercise caution near the car, a hotspot for enemy fire. Although a key is required for a particular room, vaulting through the window provides a workaround. The quest item is centrally located amidst filing cabinets and medical supplies.
Exploring the Lower Levels and Loot
Heading downstairs, loot the bodies mentioned earlier, as they often yield valuable items like ammo. This area is pivotal for quest completion, with weapon crates adding to its significance. Returning to the starting point completes a full lap of the map.
Underground

Exploring the Scav Checkpoint
At the scav checkpoint, players can extract if they have both a player scav and PMC together, earning bonus items from Fence. This checkpoint serves as a strategic point for players navigating the map.
Navigating the Underground Section
Heading to the underground area, you’ll find ample loot opportunities. Behind the car, a dead scav and a duffel bag await, while loot spawns atop trucks offer items like car batteries and propane. Exercise caution with the doors, as they open on the left and breach on the right. Inside, additional loot, including toolboxes and Technical Supply crates, can be found.
Inconsistencies and Valuable Loot
Interestingly, in offline mode, some crates may be inaccessible, but online, you’ll find valuable loot in three Technical Supply crates. Despite potential oversights during editing, these crates offer lucrative rewards for online exploration.
Key Room and Valuable Loot
Venturing further, you’ll encounter a key room accessible with the utility key. Inside, various loot awaits, including toolboxes, ammo crates, and potentially valuable items. Vaulting onto objects can lead to the discovery of valuable loot, such as evasion armbands, enhancing your scavenging experience.
Exploring the Surrounding Area
As you progress, be sure to check crates and loot opportunities along the way, maximizing your chances of finding valuable items. Moving around the back of the high-threat building with barbed wire, additional loot opportunities arise, contributing to your overall haul.
Conclusion of Underground Exploration
Exploring the entire underground area presents numerous opportunities to fill your backpack with technical items vital for your hideout and profit-making endeavors. While some areas may yield less valuable loot, thorough exploration can lead to significant rewards.
As we conclude our journey through the perilous landscape of Tarkov’s Ground Zero, we hope this Tarkov Ground Zero Map Guide has provided you with valuable insights and strategies to navigate this unforgiving terrain. From uncovering hidden loot to outmaneuvering rival players, mastering the challenges of Ground Zero requires knowledge, skill, and a keen understanding of the environment. As you continue to explore Ground Zero and hone your skills, never forget the importance of adaptability and situational awareness. Stay vigilant, trust your instincts, and always be prepared for the unexpected. Thank you for reading our Tarkov Ground Zero Map Guide.